Paragliding techniques: The Spiral Dive

Jocky Sanderson talks us through the most accessible and effective way of burning off height quickly on a paraglider
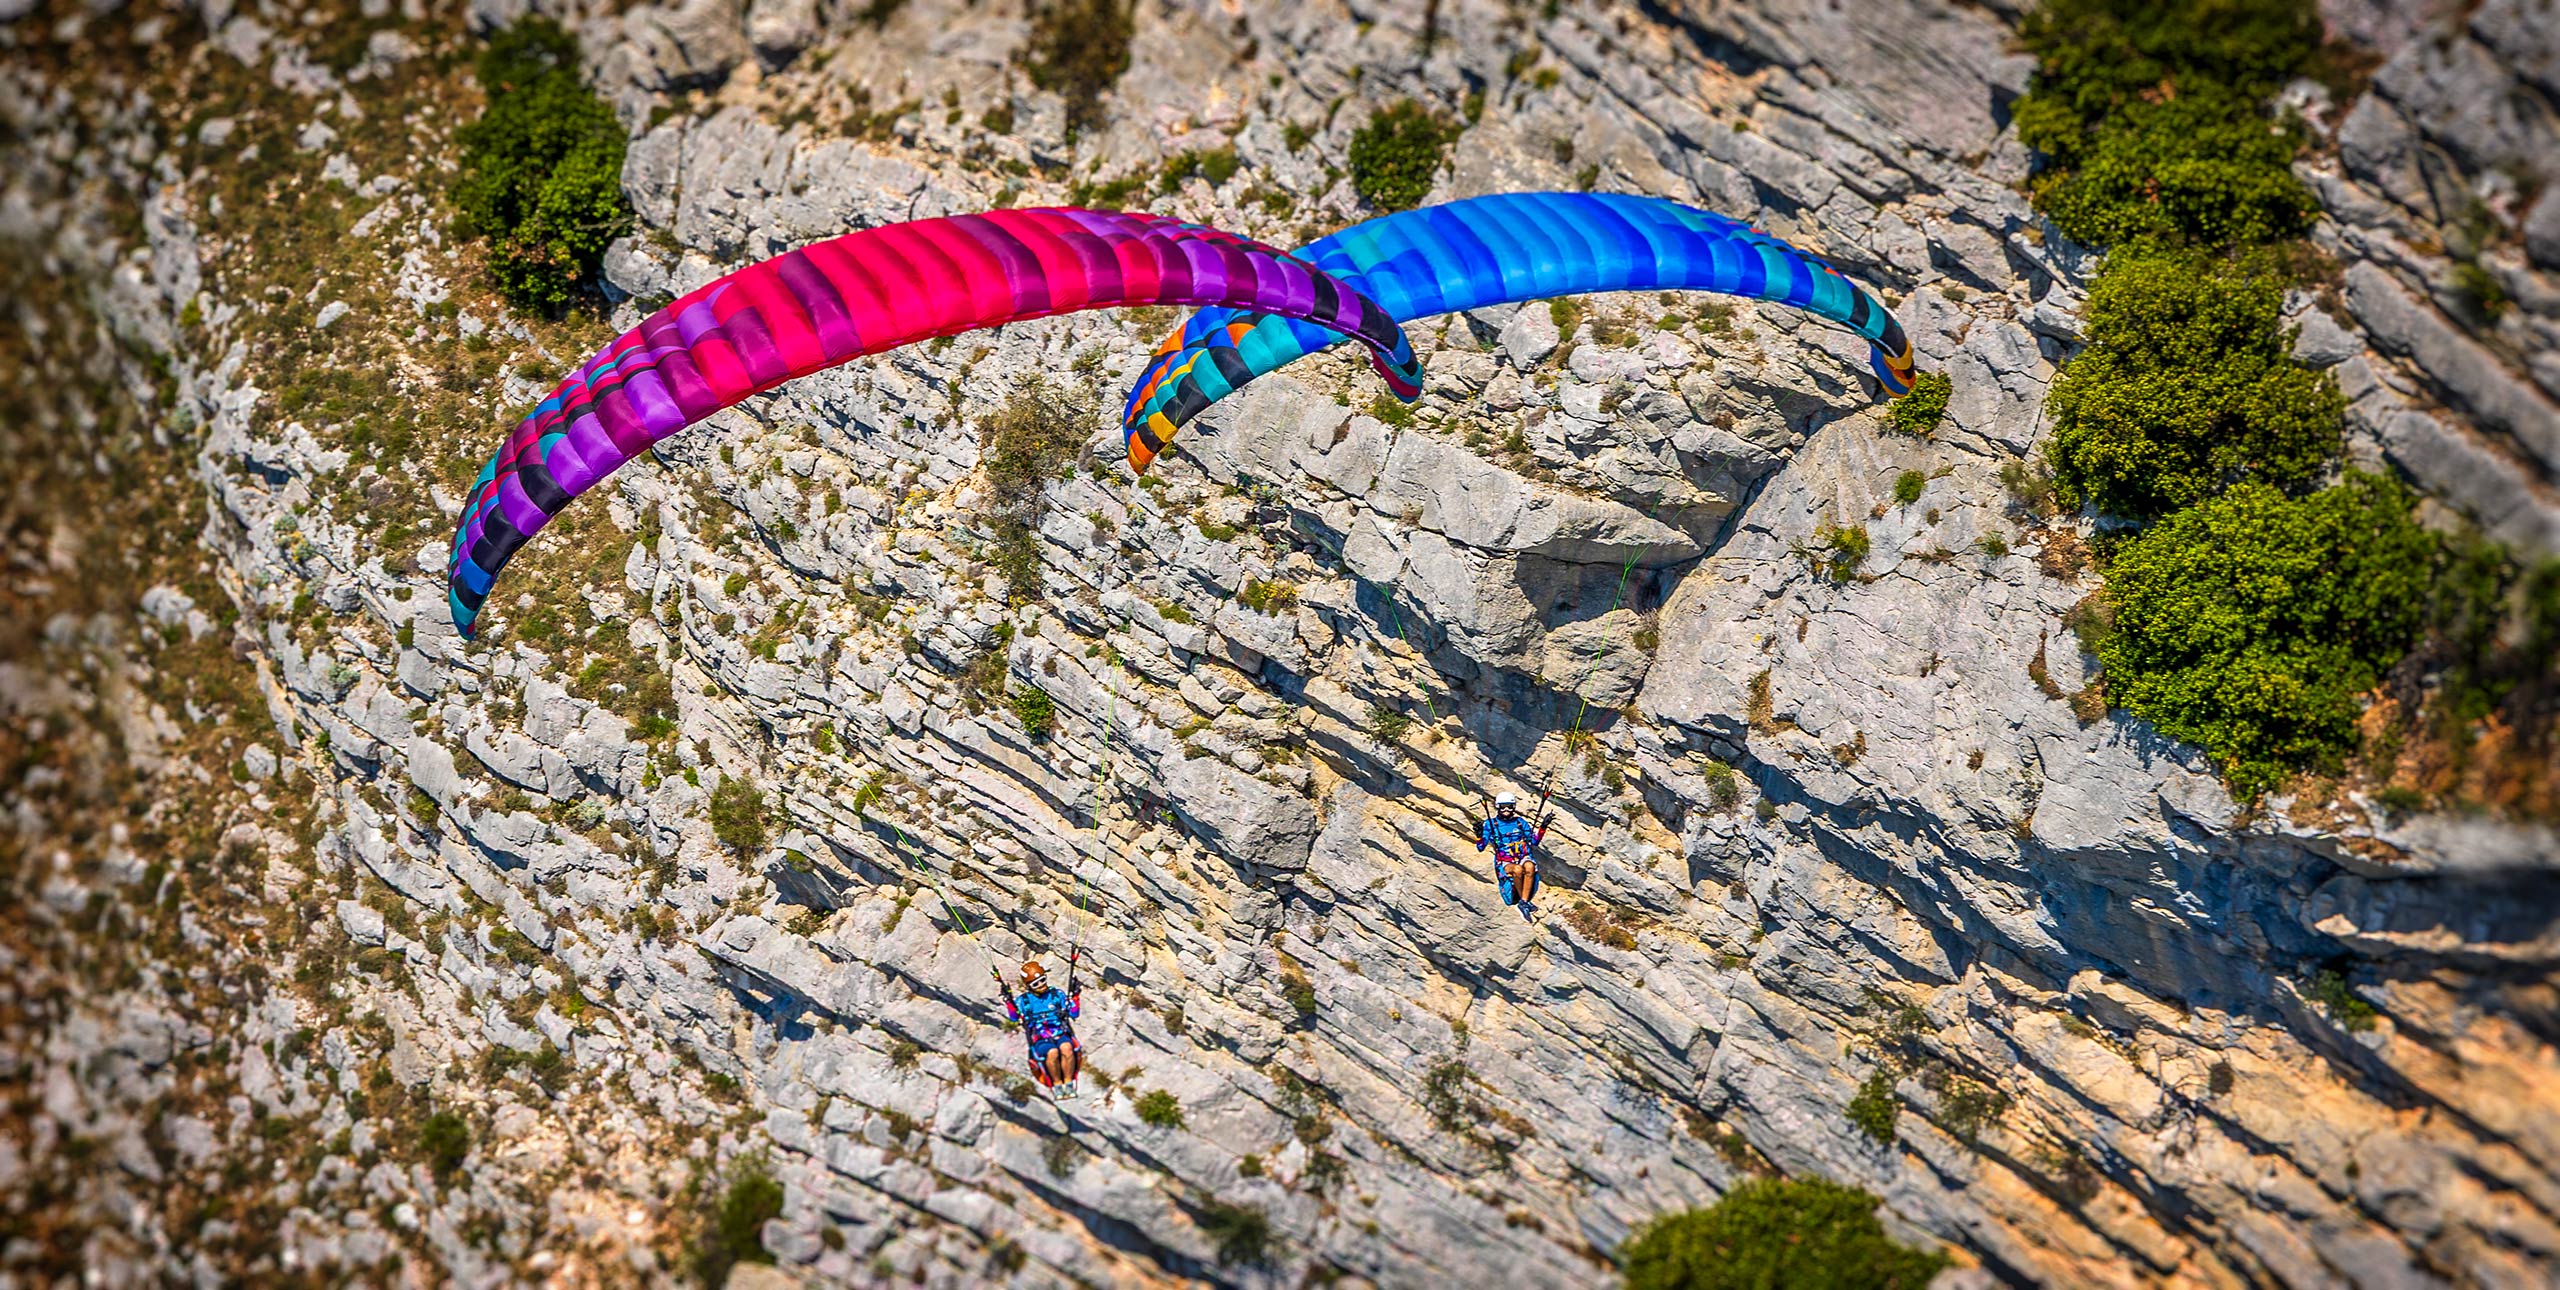
SHORT OF getting out of your harness and jumping, the spiral dive is the best (and safest) way to loose height quickly. Unlike big ears and B-lining you don’t put the paraglider into a configuration where it, or part of it, is no longer flying and acting as a wing.
You have a high descent rate yet still remaining able to actively pilot the glider, plus the very high loading also minimises the risk of the glider tucking in. You actively pilot your paraglider downwards rather than falling slowly with it attached to you, as happens when you B-line, or giving up the important feedback from the brakes required to actively pilot the wing, as one does with big ears.
As easy and safe as I’ve just made it sound, the spiral dive is still an advanced manoeuvre and one that should be learnt with care. To the uninitiated entry can be tricky and once established in the spiral you’re subject to tremendous, and potentially dangerous, forces.
A hard spiral will pull around 4 G’s and give you a vertical descent of up to 15 mps (54 km/h). When combined with your horizontal speed as you’re whipped around the outside of the spiral you will be passing through the air at a staggering 150 km/h! The noise is deafening, the G force feels fantastic, it’s completely exhilarating and you’ll want to scream with joy. Although you won’t be able to hear a thing yourself because of the roaring wind noise, rest assured, the people on the ground can hear you, so be careful of what you scream!
After 15 years of teaching SIV in Turkey I’ve seen just about every possible mistake that can be made with the spiral dive. I’ve seen the timid waft around in wide circles that wouldn’t have even kept them in the core of a big thermal, and the heavy-handed slam their poor wings straight in to a spin.
I’ve seen pilots black out and others get taken over with object fixation as the water looms ever closer. More rewardingly, I’ve seen hundreds of pilots who started out scared senseless by the idea of a spiral, walk away from a course confident that when they need to, they can pull a 15 mps descent and get the hell out of the sky. Bearing these successes in mind, here’s my step-by-step guide to safely mastering the spiral dive.
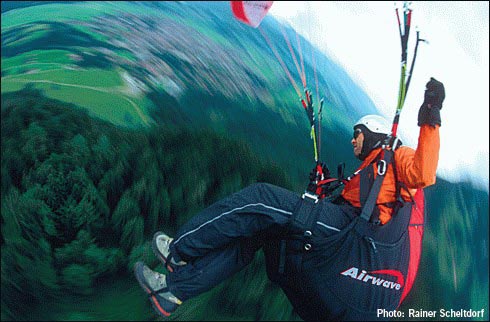
Executing a spiral dive under instruction and above water. Video: AB
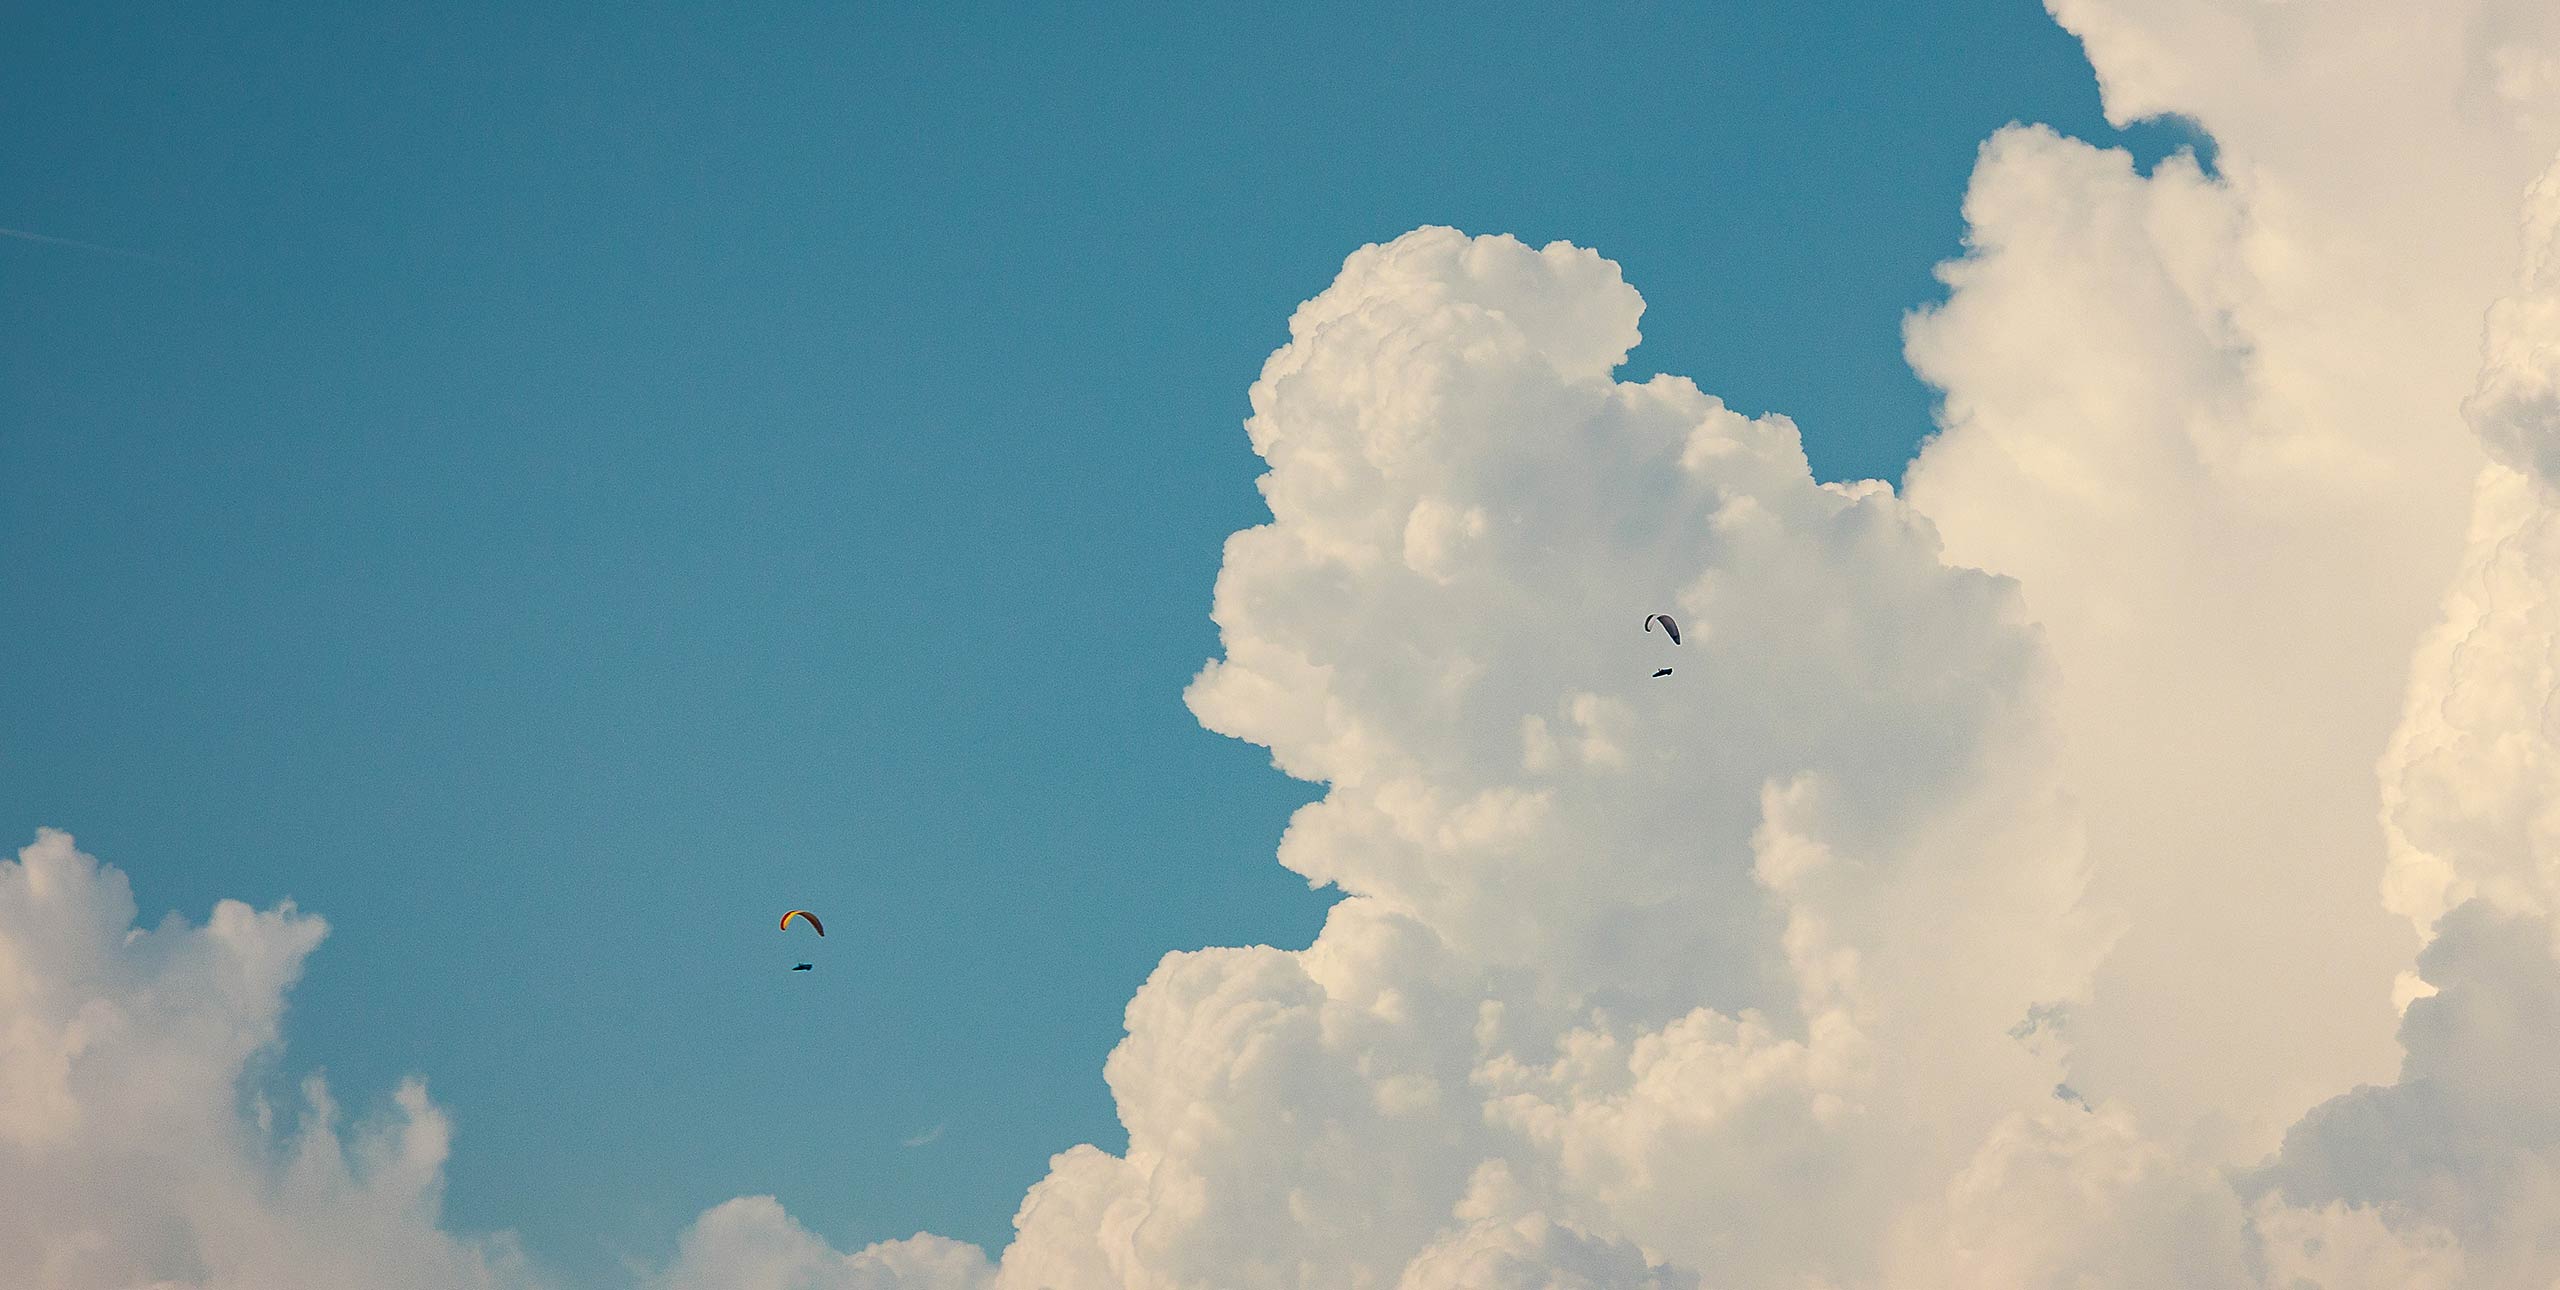
STEP 1: The aim is to get into the spiral as quickly as possible without spinning – there’s no point gently working up to a spiral with three slow rotations while being sucked up into a cu nim.
However, spinning on entry could cause you even more problems than being sucked in, so it’s crucial that you master this opening moment of the manoeuvre. Before you start, check you are flying in clear airspace and there is no one below you. Remember to take into account your drift with the wind, and that once you are locked in it’ll be really difficult to look around for potential hazards.
STEP 2: Smoothly apply around 50 % brake on one side and weight shift towards the same direction. At first, you’ll turn with the wing at a similar attitude to when you thermal – the leading edge will still be facing towards the horizon. But without any outside brake holding the glider back the leading edge will continue to drop into the turn until it is almost facing the ground. If done correctly the glider should ’drop in’ at between 90 and 180 degrees of rotation. As you feel this ’drop in’ gently squeeze a little more brake on and the glider will lock into the spiral.

STEP 3: Once the glider has locked in you need to apply some outside brake. If you don’t, the outside wing will unload and start to flap around and tuck. It’s not particularly dangerous in itself, but it’s messy, and as the aim is to have the wing fully open, loaded and flying, you should practice your outer brake control so that it never flaps or tucks.
If you pull too much outer brake the wing will simply pull out of the dive and you’ll have to start again. As you ease on the outside brake you can ease up on the inside brake until both brakes are almost level.
You’ll know you’re in the spiral because the G force instantly picks up and pushes you into the harness and, instead of looking at the horizon rushing past at an angle in front of you, you’ll be staring at the ground, or preferably water if you are doing it for the first time. You should see a clear circle of focused vision and your peripheral will be blurred by the speed. If all’s gone well, go straight to STEP 5.
STEP 4: If you didn’t use enough brake or weight shift in the initial turn you may notice the wing slowing down slightly after 180 degrees. This is due to our pitching momentum that often causes the wing to pitch behind us after half a rotation.
With the wing pitched behind you the angle of attack is greater and the wing closer to stall. It’s a dangerous moment for the learner spiral diver, and you must wait for the wing to pitch back in front of you and the speed to increase again before you can apply more brake. These peaks and troughs in the rotation should reduce as your turn gets steeper. Keep easing on the brake until the leading edge drops in and faces the ground.
STEP 5: Once you’re comfortably in the spiral dive it’s surprisingly easy to stay in it. You will feel the high Gs, and the wind on your face. This is an exhilarating feeling, but don’t get carried away. Keep an eye on how high you are and leave plenty of height to exit the spiral. To do that, slowly release the inside brake while applying a little outside brake too. Weightshift out of the spiral. This will steer you out of the spiral. If done too quickly, you may experience a wingtip collapse or the glider might rock back and then surge forwards – be prepared to control or counter these. Return to level flight and, if you need to, or want to, get ready to do it all again.

• Got news? Send it to us at news@xccontent.local. Fair use applies to this article: if you reproduce it online, please credit correctly and link to xcmag.com or the original article. No reproduction in print. Copyright remains with Cross Country magazine. Thanks
Subscribe to the world’s favourite hang gliding and paragliding magazine